|
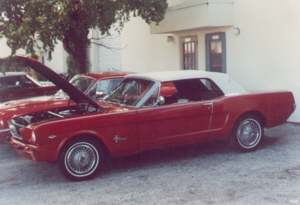
A customer stopped by to show me the mustang he just bought and
asked me "What do you think, did I get a deal or what ?".
I looked the car over for a few minutes and told him You've
been taken ! The car looked shiny and clean on the outside,
but what was underneath those bright clean fenders was the
ugliest mess you ever saw. A Mustang-Owners Nightmare.
I showed him some of the things I saw and told him that we could
return it to original quality, but it wouldn't be easy (or cheap).
This is what prompted us to create this How Not to Buy a Mustang
gallery in an effort to help mustang owners, and those considering
buying a classic mustang and to help Mustang owners understand what
might be involved in fully restoring their cars. This photo gallery
is actually older than the internet and we've seen and done hundreds
more since these photos were taken. Check out our
Photo Gallery Page for a sampling of the
cars we have done. |
|
|
This is where we begin taking the car apart. As you can see, simply
removing the fenders shows that the previous restoration was just
a makeover.
|

|
|
This is another shot of the car during the project.
|
|
|
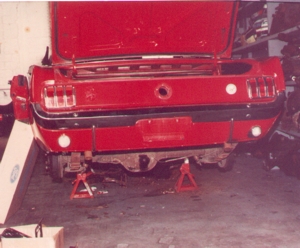
As you can see, by this time the car is starting to look
sort of ugly.
|
|
|
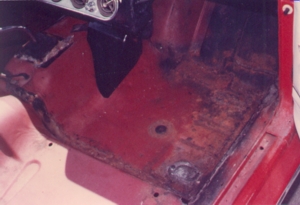
This is the right front floorboard after we removed the carpet.
Notice the rust. This is usually a sign of bad cowl vents leaking
water into the interior of the car. The cowl vent repair it'self
isn't cheap either.
|
|
|
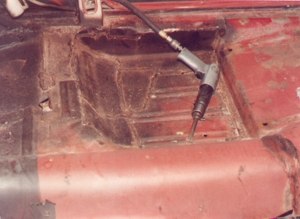
This is the left rear floor pan. Notice the patches glued in with
silicone as well as the most important part, the frame rail.
|
|
|
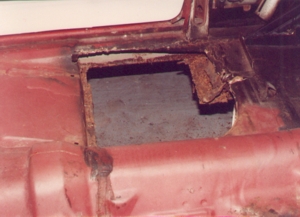
This is the right rear floor pan and frame rail after removing the
glued-in patches. This shows that the right rear frame rail and torque box
are at least 80% gone, and we exposed this with very little effort after
the carpet and seats were removed.
|
|
|
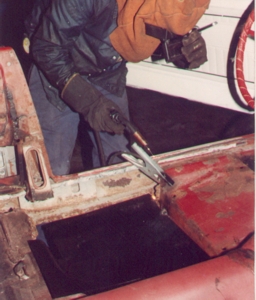
This is the left rear floor pan being installed. Notice the left inner
rocker panel is completely removed, which is also known as the frame rail.
|
|
|
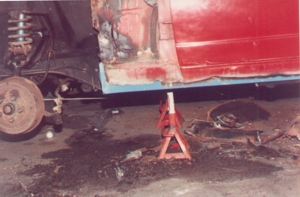
This is the left inner rocker panner (AKA frame rail) being installed.
Take notice that we painted it blue to help you see it.
|
|
|
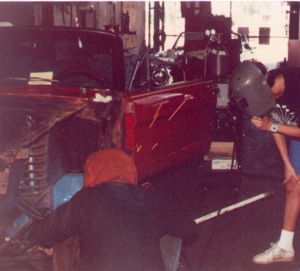
This is when we were installing the new torque box.
|
|
|
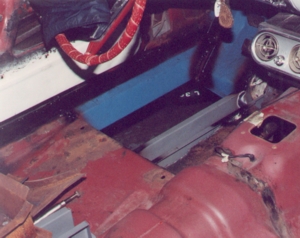
Here's the inside view if the same left front floor pan and new blue
frame rail, and new grey inner frame rail installed prior to the floor
pan being installed. You can also see the new torque box (blue) between
the inner and outer frame rails.
|
|
|
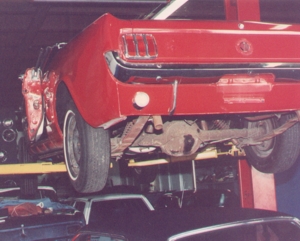
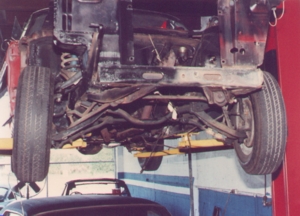
This is a shot of the car when we put it up in the air to do some finshing
touches on the metal work on the bottom of the car.
|
|
|
As you notice from the previous pictures, the motor was removed. Not only
because it was old and tired, but also because it was seven years newer
than the car, and not the correct year and model for the car. This a 1965
block that we completely rebuilt. As you can see, it's just like brand new.
|

|
|
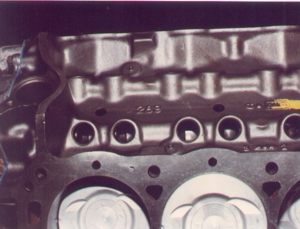
This is a close-up shot, just to confirm that this is a 289 that belongs
in a mustang.
|
|
|
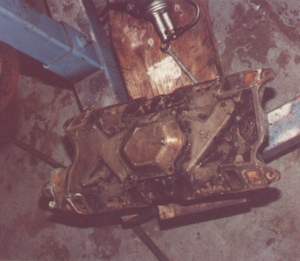
This is a shot of the original intake manifold. This shows how nasty the
parts were we were dealing with.
|
|
|
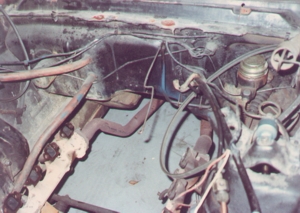
This is the engine compartment before we started working on it.
|
|
|
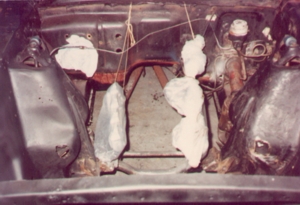
This is the engine compartment during the work.
|
|
|
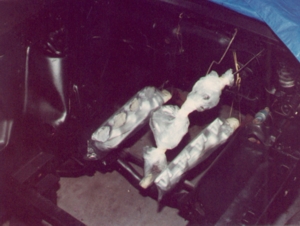
This is the engine compartment after we finished working on it,
preparing to put the engine back in.
|
|
|
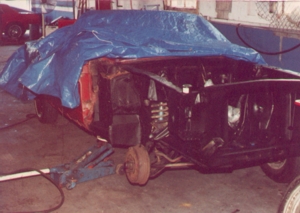
This is another picture with the engine compartment finished, before we
installed the engine. Notice that we're protecting the paint it came in
with, as we did not paint this car.
|
|
|
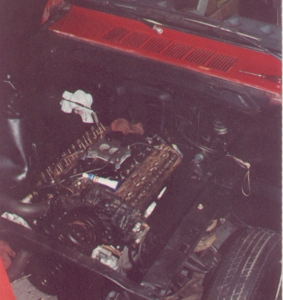
This is a shot with the long block installed in the engine compartment.
|
|
|
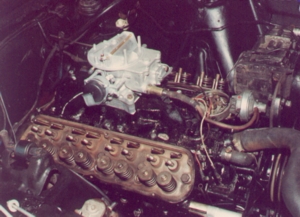
Here's another shot of the engine compartment as we are assembling the engine.
|
|
|
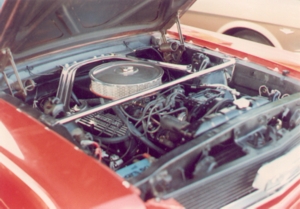
This is the finished view under the hood. You can sure tell the difference.
|
|
|
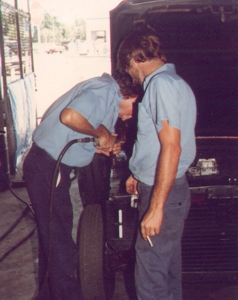
This picture is of my late brother, Clifford Thomas (left), and me, Bryan
(right) while we were working on the car. This entire page is dedicated
to his memory, as I can remember what a good job he did on those mustangs,
and those who had him work on their cars were luck to have someone of his
talent and skill. He was as dedicated to working on mustangs as he was to
being a great brother, and we will all miss him and all his talents.
|
|
|
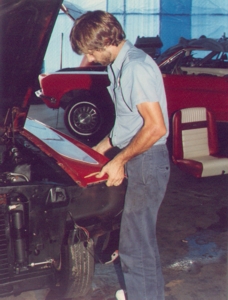
Here's when we were putting the fenders back on. Notice they are still
shiny red.
|
|
|
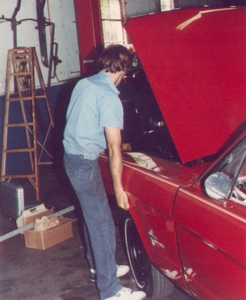
This is another shot of the sheet metal being installed.
|
|
|
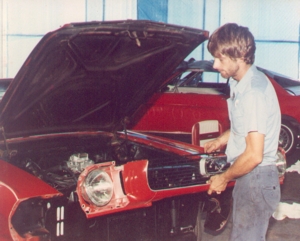
This is a picture of the headlight bucket and grill assembly being instaled.
|
|
|
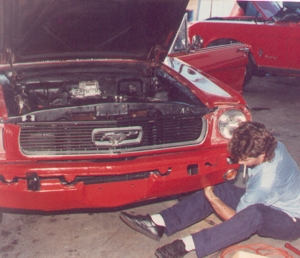
This is a shot of my brother, Clifford Thomas putting his magic final
touches aligning the sheet metal.
|
|
|
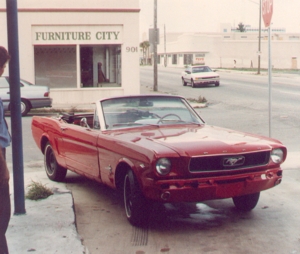
This is a picture of the car getting ready for the first test drive after
we finished all of the mechanicals.
|
|
|
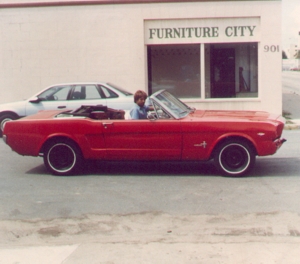
And HERE IT IS, going for it's first drive, and guess what ? it went over
without a hitch (or a hitching post).
|
|
|
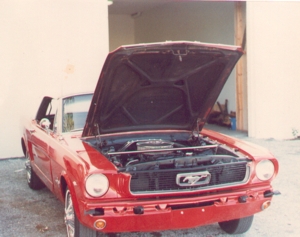
This is the car after returning from it's successful test drive. We are
putting the final touches on this mustang, and bringing this project to a
close. Notice we didn't paint the car, do any interior or convertible to
work (or any other exterior work) on this mustang. it looks the same as it
did when it came in except now it is a car worthy of owning (and a very
costly lesson).
|
|
|
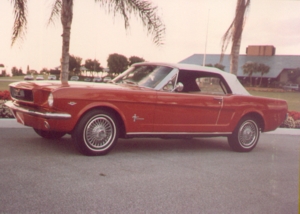
This is the first completed shot of the car after we finished the work
we were contracted to do, the day before delivery to the customer. As you
can imagine, he was pleased.
|
|
|
We at Palm Beach Mustangs and 5.0s not only care about the ponies,
but their owners as well. That is why we created this page, in hope that
you, Mustang owners, and future Mustang owners might realize what you may
be getting into, and also to let you know that we at Palm Beach Mustangs
and 5.0s can help you out of any nightmare you may be involved in with
your pony. Don't give up if you have a nightmare mustang, as we are here to
help, and any mustang or shelby can be restored perfectly to the touch as
long as you get it to a qualified mustang restoration shop such as ourselves.
|
|


